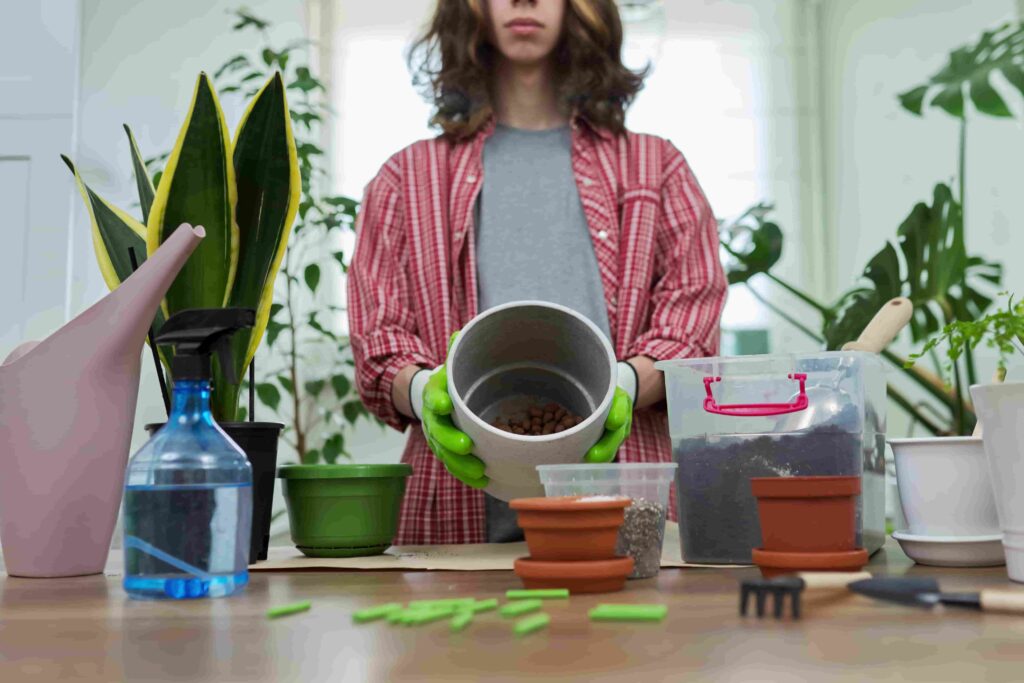
Artificial plants are a popular choice for home decor due to their low maintenance and everlasting beauty. However, to keep them looking fresh and vibrant, it’s essential to clean and maintain them properly. In this guide, we will walk you through the best practices for cleaning and maintaining your artificial plants to ensure they stay beautiful for years to come.
1. Regular Dusting
Dust is the primary culprit that can make your artificial plants look dull and lifeless. Regular dusting is crucial to keep them looking their best.
Tools Needed:
- Soft-bristled brush
- Microfiber cloth
- Compressed air canister
Steps:
- Brush Off Dust: Use a soft-bristled brush to gently remove dust from the leaves and stems. Start from the top and work your way down.
- Wipe with Microfiber Cloth: A microfiber cloth can effectively trap and remove dust. Wipe each leaf individually.
- Use Compressed Air: For hard-to-reach areas, a canister of compressed air can blow away the dust. Be sure to use it in an unventilated area.
2. Deep Cleaning
Over time, dust and grime can build up on your artificial plants, requiring a deeper clean.
Tools Needed:
- Mild dish soap
- Warm water
- Soft cloth or sponge
- Spray bottle
Steps:
- Mix the cleaning solution: In a spray bottle, combine a few drops of mild dishwasher soap and warm water.
- Spray the Plant: Lightly mist the plant with the soapy solution, avoiding excessive soaking.
- Wipe Down: Use a soft cloth or sponge to gently wipe the leaves and stems. For heavily soiled areas, you may need to scrub lightly.
- Rinse: If possible, rinse the plant with clean water to remove any soap residue. Use a damp cloth to wipe it down if rinsing isn’t feasible.
- Dry Thoroughly: Allow the plant to air dry completely before placing it back in its spot.
3. UV Protection
Exposure to sunlight can cause artificial plants to fade over time. Applying a UV protectant can help maintain their vibrant colors.
Tools Needed:
- UV protectant spray
Steps:
- Choose the Right Product: Select a UV protectant spray designed for artificial plants.
- Apply Evenly: Follow the instructions on the product label to apply an even coat to all parts of the plant.
- Reapply as Needed: Depending on exposure to sunlight, reapply the protective every 6-12 months.
4. Repair and Restoration
Even with the best care, artificial plants can sometimes become damaged. Here’s how to repair and restore them.
Tools Needed:
- Glue gun or craft glue
- Scissors
- Replacement leaves or flowers
Steps:
- Inspect for Damage: Regularly check your plants for any signs of wear and tear, such as loose leaves or broken stems.
- Glue Loose Parts: Use a glue gun or craft glue to reattach any loose parts. Hold them in place until the glue has hardened.
- Replace Damaged Pieces: If any leaves or flowers are beyond repair, consider purchasing replacements from craft stores or the original manufacturer.
- Trim Frayed Edges: Use scissors to trim any frayed edges or excess glue for a neater appearance.
5. Seasonal Maintenance
Changing seasons may call for different maintenance routines to keep your artificial plants looking their best.
Winter:
- Minimize Dust: Dust can accumulate faster indoors during winter. Increase the frequency of dusting.
- Check for Mold: Ensure the plants are dry to prevent mold growth, especially if they are near windows that may have condensation.
Spring:
- Deep Cleaning: Spring is an ideal time for a thorough deep clean to remove any winter grime.
- UV Protection: Reapply UV protectant as you start opening windows and allowing more sunlight in.
Summer:
- Monitor for Fading: The intense summer sun can fade artificial plants. Ensure they are not in direct sunlight for prolonged periods.
- Humidity Control: High humidity can cause artificial plants to become sticky. Use a dehumidifier if necessary.
Fall:
- Leaf Maintenance: As natural leaves fall, ensure your artificial plants remain free of debris.
- Pre-Winter Check: Perform a thorough inspection and cleaning before the onset of winter.
6. Storage Tips
If you need to store your artificial plants, proper storage is key to maintaining their condition.
Steps:
- Clean Before Storing: Ensure your plants are clean and dry before storage to prevent mold and mildew.
- Use Dust Covers: Cover the plants with plastic bags or dust covers to keep them clean.
- Store in a Cool, Dry Place: Avoid damp or overly hot areas that can damage the materials.
- Avoid Crushing: Store plants in a way that prevents them from being crushed or bent out of shape.
Conclusion
Artificial plants are a beautiful and practical addition to any home, offering the beauty of nature without the upkeep. By following these cleaning and maintenance tips, you can ensure your artificial plants remain a vibrant and stunning part of your decor for many years. Regular dusting, deep cleaning, UV protection, timely repairs, seasonal maintenance, and proper storage are all essential steps in preserving the long-lasting beauty of your artificial plants. With a little effort, your artificial greenery will continue to bring joy and elegance to your space.
Ready to transform your space with the High Quality Artificial plants in chennai Visit our showroom at kusal.com Best Artificial plants Shop in Chennai to explore our wide selection to get this blog advice on your next project. Share your favorite trends with us in the comments below, and don’t forget to subscribe to our newsletter for more design inspiration!This Excellent website was build and designed by Kerplunk Media.They are productively provide a Website Development ,Digital Marketing,Video Production,Social Media Marketing and Branding.Kerplunk Media is a leading digital marketing agency based in Pondicherry, Chennai. Check our website https://www.kerplunkmedia.com/ and https://kerplunkmediachennai.com/.


